
■SpringBootプロジェクトの作成
※本記事ではSpring Bootを使用します。SpringFramework + Spring Secuirty + Spring MVCの組み合わせとは実装方法が異なります。Bootの記述はより簡略化されたものとなってます。
需要があればそちらも今後記述するかもしれません。
Spring公式サイトを参考にログイン画面https://spring.pleiades.io/guides/gs/securing-web/#scratch
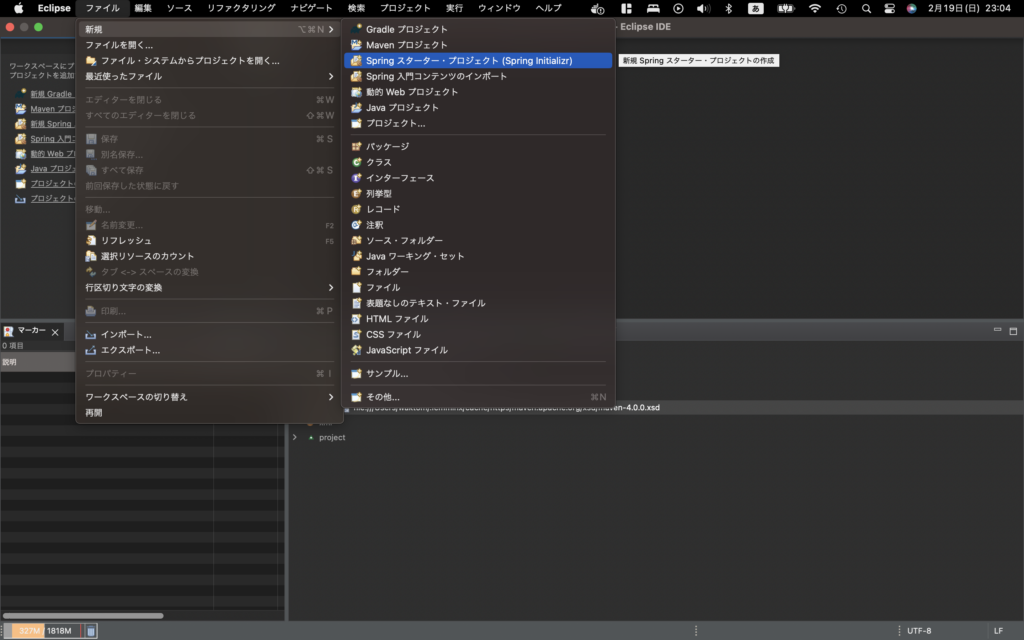
①プロジェクトの作成
まずは「Spring Initializer から開始」 の作業を実施
ファイル > 新規 > Spring スタータープロジェクトを開きます
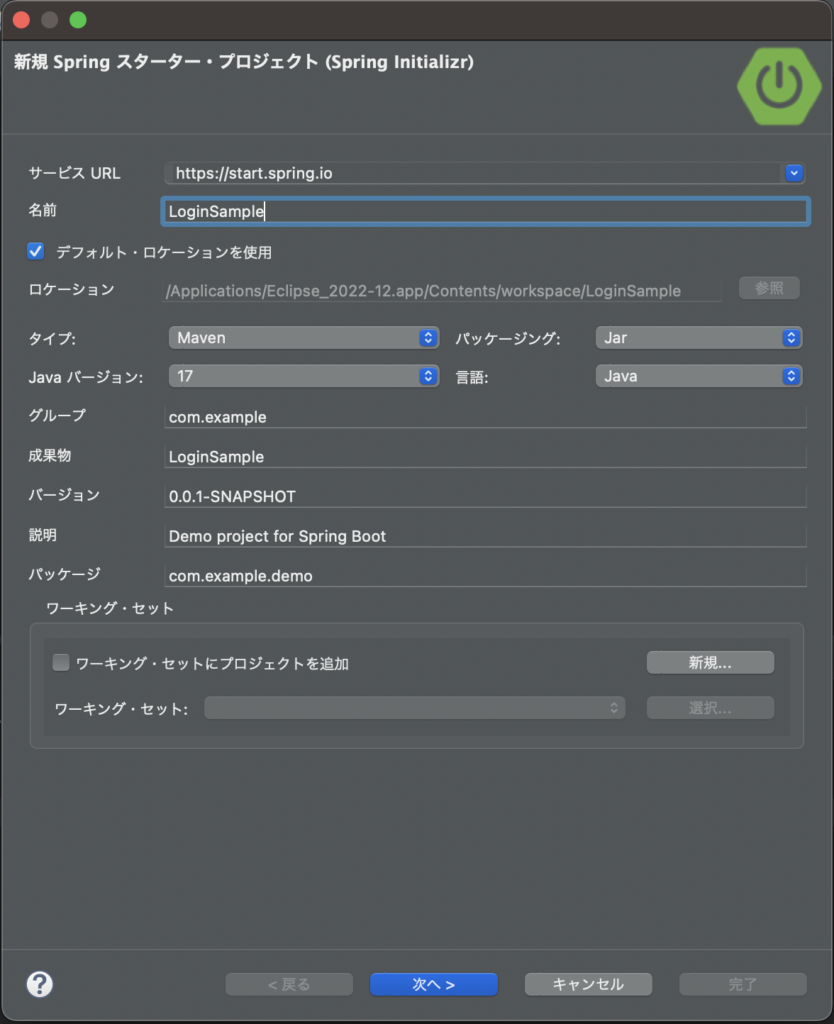
新規Springスターター・プロジェクト(Spring Initializr)画面で
プロジェクト名はLoginSample
今回はmavenを使用しますのでタイプはmaven選択
「次へ」を押下
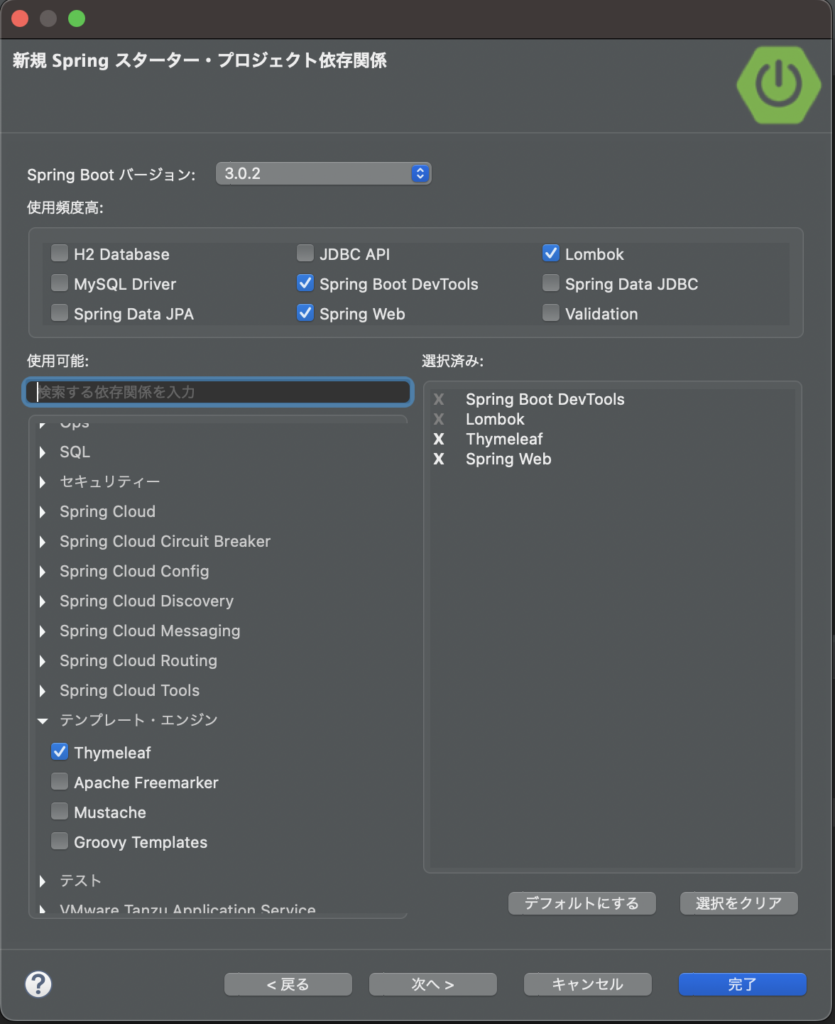
新規Springスターター・プロジェクト依存関係画面で
使用する依存関係としてTymeleafとSpring Webを追加
| 依存関係ライブラリ | 説明 |
|---|---|
| Spring Web | Spring Web MVC Webフレームワーク |
| Thymeleaf | SpringBoot標準で使われるHTMLテンプレートエンジン |
「完了」を押下
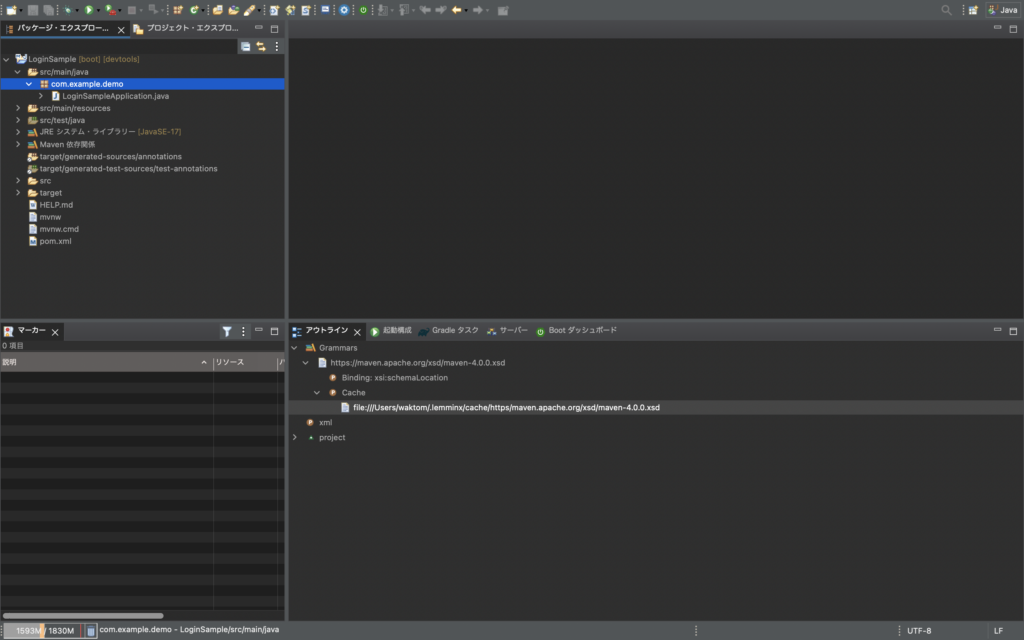
プロジェクト作成完了
■ログイン画面を作成
公式が配布しているチュートリアル(インメモリ認証)のソースコードを元に実装していきます。
https://github.com/spring-guides/gs-securing-web.git
ベースとして公式が配布しているソースコードをインポートして使ってもいいですが、本記事では公式の記事に記述してあるソースコードをコピペして使っていきます。
/LoginSample/src/main/resources/templatesにhome.htmlビューファイルを作成
<!DOCTYPE html>
<html xmlns="http://www.w3.org/1999/xhtml" xmlns:th="https://www.thymeleaf.org">
    <head>
        <title>Spring Security Example</title>
    </head>
    <body>
        <h1>Welcome!</h1>

        <p>Click <a th:href="@{/hello}">here</a> to see a greeting.</p>
    </body>
</html>
上記記述はwebappアクセス時のトップ画面です。
/LoginSample/src/main/resources/templatesにhello.htmlビューファイル作成を作成
<!DOCTYPE html>
<html xmlns="http://www.w3.org/1999/xhtml" xmlns:th="https://www.thymeleaf.org"
      xmlns:sec="https://www.thymeleaf.org/thymeleaf-extras-springsecurity6">
    <head>
        <title>Hello World!</title>
    </head>
    <body>
        <h1 th:inline="text">Hello <span th:remove="tag" sec:authentication="name">thymeleaf</span>!</h1>
        <form th:action="@{/logout}" method="post">
            <input type="submit" value="Sign Out"/>
        </form>
    </body>
</html>
上記記述はログイン後の画面です。
/LoginSample/src/main/java/com/example/demo直下にconfigフォルダ作成しその配下にWebMVCConfig.javaファイル作成
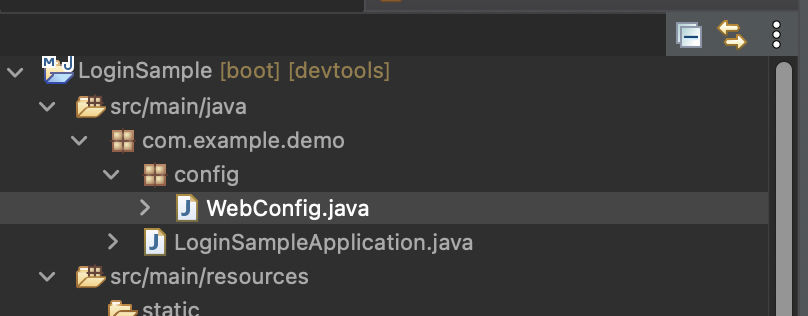
WebMVCConfig.javaには以下内容を記述
package com.example.demo.config;

import org.springframework.context.annotation.Configuration;
import org.springframework.web.servlet.config.annotation.ViewControllerRegistry;
import org.springframework.web.servlet.config.annotation.WebMvcConfigurer;

@Configuration
public class WebMVCConfig implements WebMvcConfigurer {

	public void addViewControllers(ViewControllerRegistry registry) {
		registry.addViewController("/home").setViewName("home");
		registry.addViewController("/").setViewName("home");
		registry.addViewController("/hello").setViewName("hello");
		registry.addViewController("/login").setViewName("login");
	}

}
ざっくり説明
・spring4以前の時はWebMvcConfigurerではなく、WebMvcConfigurerAdapterをextendsしていました。
・このクラスを作成することにより、Java構成でSpringMVCをカスタマイズしていくことができます。
・Java構成で設定していきますが、他にはxmlベースの構成ファイルで設定していく方法があります。現在はこちらが主流です。
Spring Secuirtyをセットアップ
pom.xmlファイルの<dependencies>要素内に以下内容を追記
<dependency>
	<groupId>org.springframework.boot</groupId>
	<artifactId>spring-boot-starter-security</artifactId>
</dependency>
<dependency>
	<groupId>org.thymeleaf.extras</groupId>
	<artifactId>thymeleaf-extras-springsecurity6</artifactId>
	<!-- Temporary explicit version to fix Thymeleaf bug -->
	<version>3.1.1.RELEASE</version>
</dependency>
<dependency>
	<groupId>org.springframework.security</groupId>
	<artifactId>spring-security-test</artifactId>
	<scope>test</scope>
</dependency>
メモ:Macの矩形選択はoption + command + a でできます。解除も同じです。
Windowsはshift + alt + a です。
追記できたら、プロジェクトを更新し、ローカルリポジトリに今追加した依存関係ライブラリをダウンロードしておきましょう。
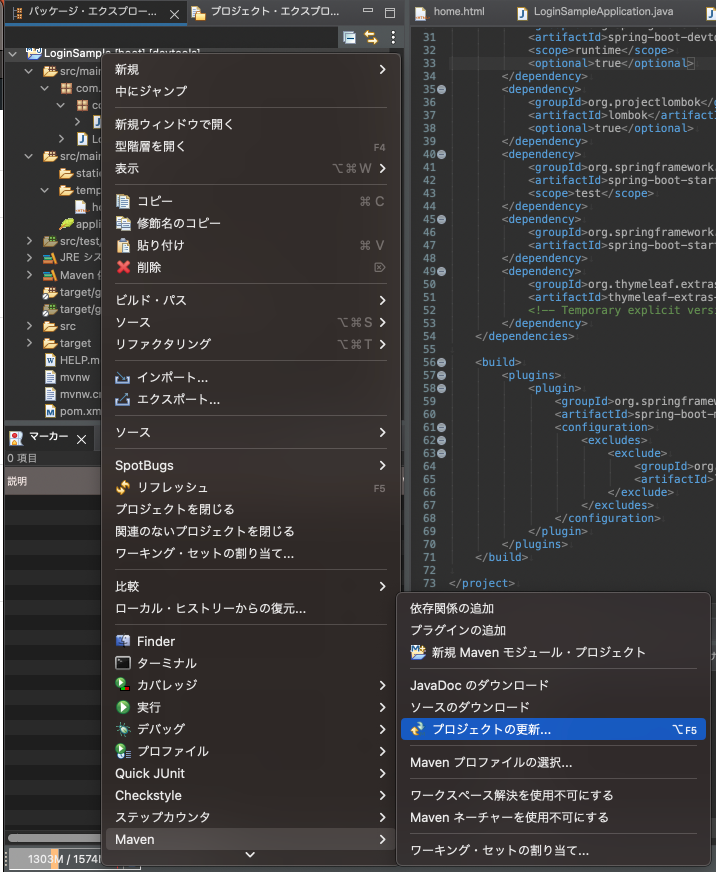
「OK」押下
メモ:デフォルトではユーザーディレクトリ配下に「.m2」フォルダができており、その配下にローカルリポジトリがあります。windowsも基本同じです。
/LoginSample/src/main/java/com/example/demo/config配下にWebSecuirtyConfig.javaファイル作成
usernameがログイン時のユーザー名
passwordがログイン時のパスワードとなります。
package com.example.securingweb;

import org.springframework.context.annotation.Bean;
import org.springframework.context.annotation.Configuration;
import org.springframework.security.config.annotation.web.builders.HttpSecurity;
import org.springframework.security.config.annotation.web.configuration.EnableWebSecurity;
import org.springframework.security.core.userdetails.User;
import org.springframework.security.core.userdetails.UserDetails;
import org.springframework.security.core.userdetails.UserDetailsService;
import org.springframework.security.provisioning.InMemoryUserDetailsManager;
import org.springframework.security.web.SecurityFilterChain;

@Configuration
@EnableWebSecurity
public class WebSecurityConfig {

	@Bean
	public SecurityFilterChain securityFilterChain(HttpSecurity http) throws Exception {
		http
			.authorizeHttpRequests((requests) -> requests
				.requestMatchers("/", "/home").permitAll()
				.anyRequest().authenticated()
			)
			.formLogin((form) -> form
				.loginPage("/login")
				.permitAll()
			)
			.logout((logout) -> logout.permitAll());

		return http.build();
	}

	@Bean
	public UserDetailsService userDetailsService() {
		UserDetails user =
			 User.withDefaultPasswordEncoder()
				.username("user")
				.password("password")
				.roles("USER")
				.build();

		return new InMemoryUserDetailsManager(user);
	}
}
メモ:@EnableWebSecurityでSpring Secuirtyを有効化します。
@Beanでbeanとして定義を登録します
User.withDefaultPasswordEncoderで警告でます。ここではいったん無視してください。
警告が出る理由は非推奨のためです。
ソースコードにプレーンテキストでパスワードを記述するべきではありません。今回は説明用のデモとしての扱いのため、このようにしています。
この記述方法ではソースコードをデコンパイル(逆コンパイル)された時にパスワードが流出してしまいます。あくまでテストデモ用です。
普段使っているパスワードを使ってリポジトリにプッシュしてしまうようなことは絶対にやめてください。
/LoginSample/src/main/resources/templatesにlogin.htmlビューファイル作成を作成
<!DOCTYPE html>
<html xmlns="http://www.w3.org/1999/xhtml" xmlns:th="https://www.thymeleaf.org">
    <head>
        <title>Spring Security Example </title>
    </head>
    <body>
        <div th:if="${param.error}">
            Invalid username and password.
        </div>
        <div th:if="${param.logout}">
            You have been logged out.
        </div>
        <form th:action="@{/login}" method="post">
            <div><label> User Name : <input type="text" name="username"/> </label></div>
            <div><label> Password: <input type="password" name="password"/> </label></div>
            <div><input type="submit" value="Sign In"/></div>
        </form>
    </body>
</html>
上記記述がログイン画面です。
プロジェクトを右クリックしコンテキストメニューより、
実行>Spring Boot アプリケーションをクリックし実行
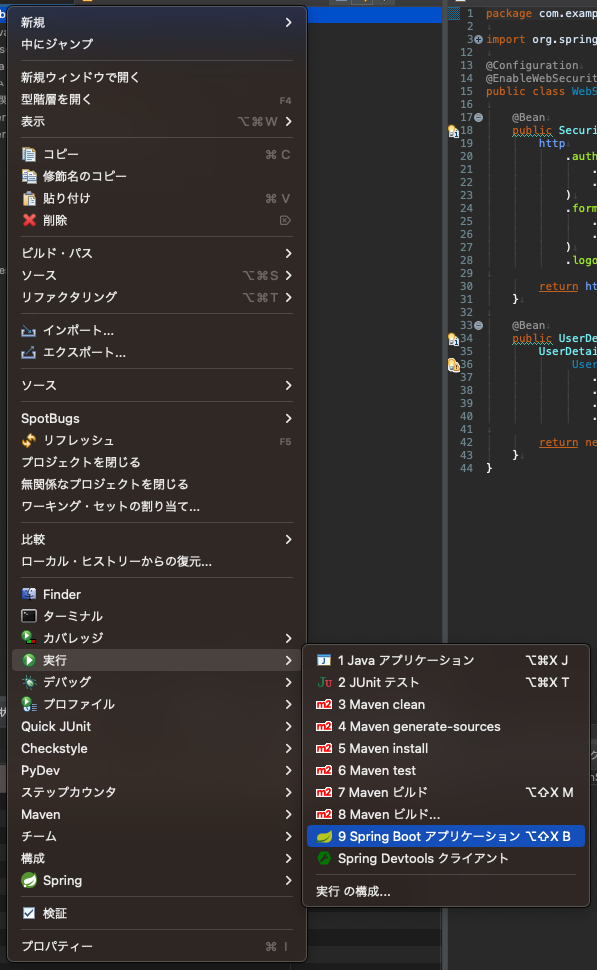
WebサーバーがSpring Bootに同梱されており、わざわざWebサーバーを構築することなく上記操作でwebappを実行できます。
SpringBootじゃないSpring Framework + Spring MVCな組み合わせではwarを作ってWebサーバーにデプロイ(配備)する必要がありましたが、SpringBootではWebサーバーが組み込めるので、サービスとして起動といった手法が行えます。
上記のようにeclipse実行で、サーバー作ってソースを追加して実行といった手順がいらないのもそのためです。
※従来通りのWebサーバを構築してwarをデプロイする方法も可能です。
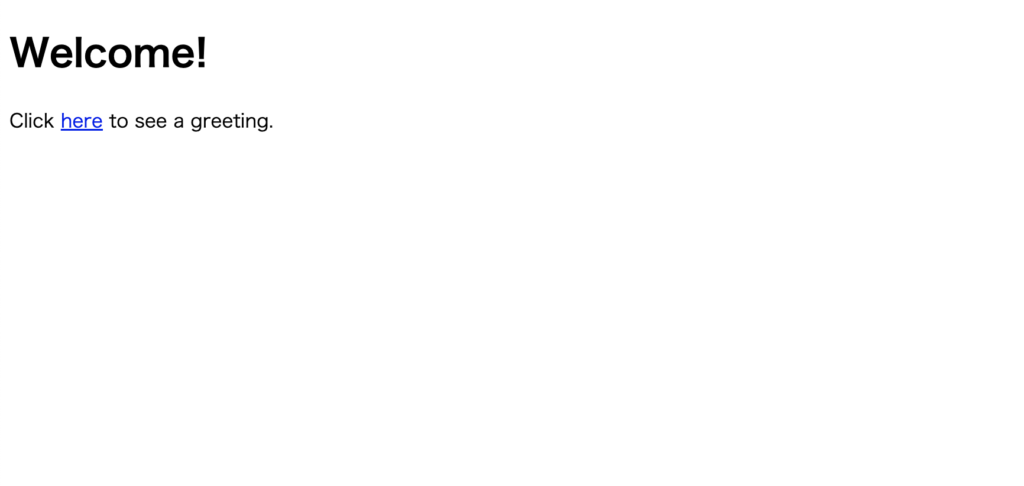
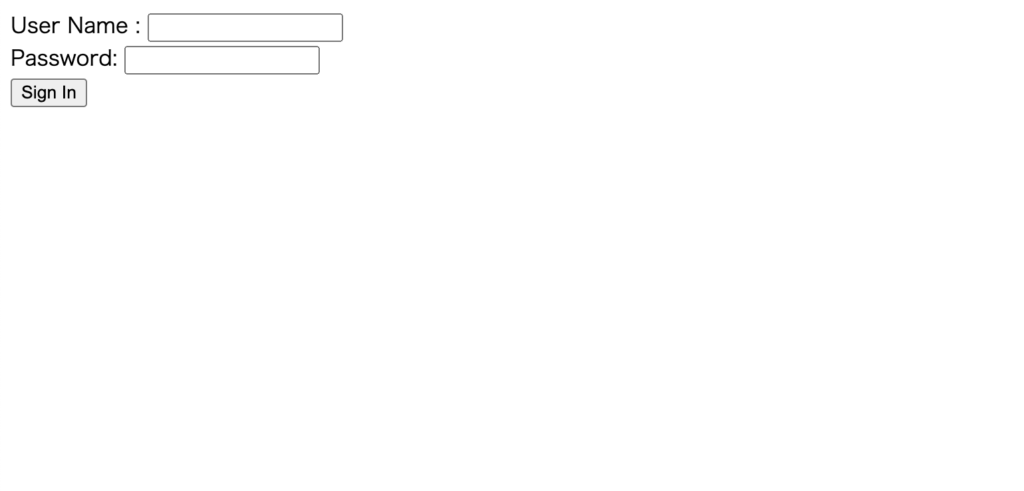
http://localhost:8080/にアクセスすると下記のような画面が表示されます。
※もしエラーが発生した場合、コンテキストメニューより、Spring>DevToolsの除去を行ってから再度実行してみてください。
hereというリンクを押下するとログイン画面に遷移します。
ログイン画面
User NameとPassword欄には
/LoginSample/src/main/java/com/example/demo/config/WebSecurityConfig.java#userDetailsServiceメソッド
で設定した値を入力し、「Sign In」を押下
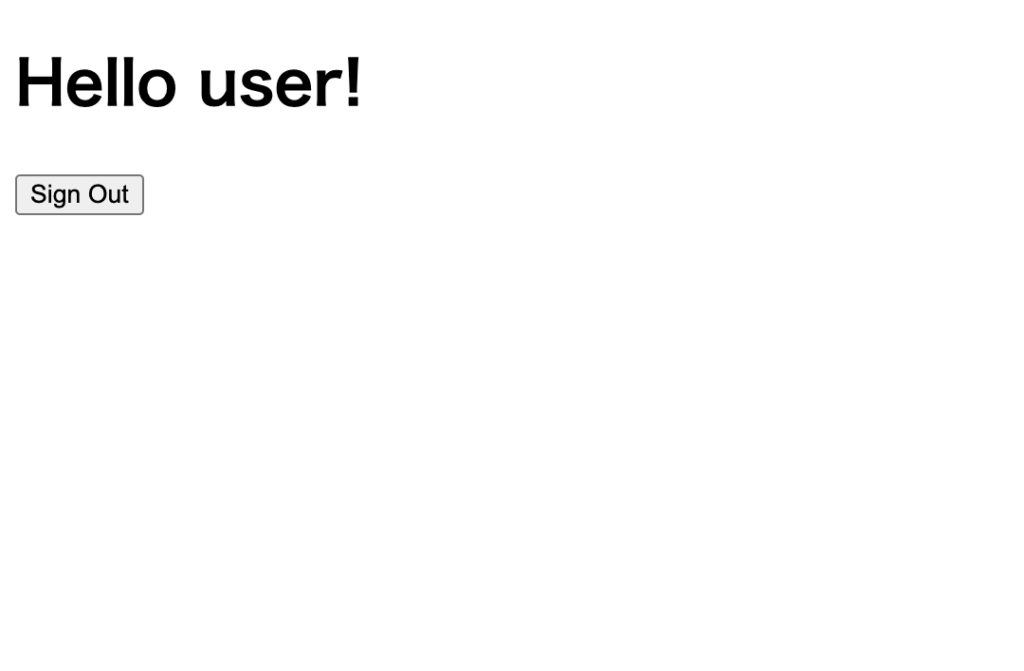
ログインが成功し、下記のような画面が表示されます。
「Sing Out」を押下するとログアウトし、ログイン画面へと遷移します。
以上、Spring Boot チュートリアルのインメモリ認証でのログイン認証です。
※インメモリ認証とは、メモリに保存したユーザー名/パスワードから認証する方法のことです。
この手法は本番環境では使用せず、ローカルでテストを行いたいけど、DBが何らかの理由により利用できない、触れない等の時に一時的にこういった形でログインできるようにし、テストしたりすることがごくたまにあります。
前のほうでも記載しましたが、プレーンテキストで記述してあり、デコンパイルした時等にユーザー情報がわかってしまいますので、本番環境での利用やリポジトリへのプッシュはやめておきましょう。
コメント